Water Ingress Along A Coaxial Cable: One Wet Connector Ruins It
A connector that lets water in does not fail at the connector. The water wicks along the inside of the cable, and by the time anyone notices the signal has been degrading for months, the damage extends metres beyond the joint. Maintenance teams expecting to cut off a corroded connector and re-terminate often find that the whole run has to be replaced instead.
This article explains the mechanism that carries water into a coaxial cable, the damage it does to the electrical performance, and the installation practices that stop it.
The failure is a system level one. It begins with a mechanical seal, continues through the materials inside the cable, and ends at the active equipment that the cable feeds, which is where the expensive damage usually happens.
What Happens In The Field
The pattern is familiar in outdoor distribution networks and satellite installations. A fault is reported as a sudden drop in signal quality, with a falling downstream rate and a deteriorating upstream signal to noise ratio. The initial diagnosis is a corroded connector, and the plan is to cut the cable back and fit a new one. Stripping the jacket reveals the real condition: the braid and the foil are blackened, the foam dielectric is saturated, and the moisture extends well beyond the joint.
In one documented case the water had travelled more than two metres from the connector into the body of the cable. That distance is what turns a minor repair into a cable replacement, and it is what makes prevention worth more than detection.

Why Water Travels Uphill
Water moves through a coaxial cable by capillary action. The construction of a typical seventy five ohm cable is a centre conductor, a foam polyethylene dielectric, an aluminium foil shield, a woven metal braid and a PVC jacket. Between the braid and the jacket, and between the foil and the braid, there are microscopic gaps and irregular voids. Once water enters the connector, those voids act as a network of capillaries, and surface tension draws the water along the walls of the metal and plastic surfaces.
Gravity is not required, and neither is a pressure head. The second driver is thermal. The daily temperature cycle expands and contracts the air inside the cable, creating a small alternating pressure difference that pumps moisture deeper into the assembly, the way a breathing cycle moves air. Together, capillary action and this breathing effect will move water horizontally, and even upward, against what intuition suggests.
Damage To The Electrical Performance
The foam dielectric is the component that sets the impedance of the cable, and it is the component that water destroys first. Its structure is largely air held in a polymer matrix, and water filling those cells changes the local dielectric constant dramatically. Where the impedance of the cable is no longer seventy five ohms, the run is no longer matched, energy reflects at the wet section, and the VSWR rises sharply.
The chemical damage follows. Rainwater carries dissolved ions, and those ions attack the aluminium foil and the copper braid. Corrosion reduces the shielding effectiveness, which lets external interference into the cable, and it raises the attenuation of the run. Insertion loss climbs and keeps climbing as the corrosion progresses, which is why the symptom is a gradual loss of margin rather than a single event.
When The Water Reaches The Equipment
The most expensive outcome happens when the moisture reaches the far end of the run. If it enters an amplifier or a receiver, the water vapour changes the insulation resistance of the circuit board inside, and the reduction in insulation resistance can produce leakage paths or a short circuit that destroys the module. A repair that started as a connector replacement ends as an equipment replacement.
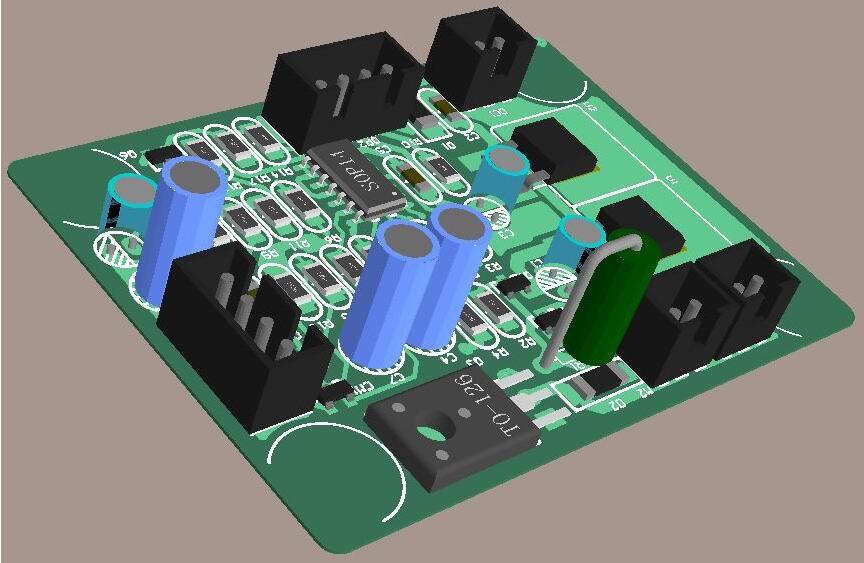
This is the point where the board design and the installation meet. A conformal coating on the board buys time by keeping moisture off the conductor surfaces, and potting the assembly closes it completely, but neither is a substitute for stopping the water in the first place. The board is the last line of defence, not the first.
Sealing The Connector Properly
The choice of connector is the first decision that matters. A compression type connector with an internal O ring seals the jacket to the body and clamps it in place, so the joint is closed against both water and the pull of the cable. A screw on or crimp ring connector relies on contact alone and offers no barrier, which is why it should not be used in an outdoor node regardless of the price difference.
The second decision is the seal around the finished joint. A drip loop formed at the lowest point of the run before it rises into the equipment uses gravity to break the path that water would otherwise follow along the outside of the cable. After the connector is tightened, wrapping the joint with a self amalgamating tape and then an outer layer of insulating tape closes the last route in. Both steps take minutes and both are routinely skipped.

Choosing A Cable For A Wet Location
Where the installation is in a duct, a manhole or directly buried, the cable itself has to resist water. Two constructions are used for this. The first fills the interstitial spaces with a water blocking compound that stops the capillary path. The second places a swellable tape inside the jacket, which expands on contact with water and seals the route.
Either is more expensive than an ordinary drop cable, and the additional cost is justified by the environment rather than by the bandwidth. A cable selected for a dry indoor route and installed outdoors will fail no matter how carefully the connectors are fitted, and the failure will be attributed to the connector rather than to the choice of cable.
Installation Practices That Hold Up
The practices that prevent water ingress are simple and are almost all about sequence. Fit a compression connector rather than a screw on type. Point the drip loop downward and keep the lowest point of the cable below the equipment entry. Seal the joint after the connector is torqued, not before. Leave a service loop so that a future repair does not consume the whole margin.
It also helps to record what was installed. A joint that was sealed with the correct tape and a proper drip loop can be inspected later and re-sealed if needed, whereas an unsealed joint has to be cut back and rebuilt. Where an outdoor enclosure is used, the same reasoning applies to the mounting and outline of the board inside it, and to the gasket that closes the enclosure. Water reaches equipment through the easiest path available, and the board assembly is only protected if every path ahead of it has been closed.
FAQ
Can water really travel upward inside a cable? Yes. Capillary action and the pressure change caused by daily temperature cycling will move moisture along the voids in the cable, independent of gravity.
Is a corroded connector always the cause? It is usually the entry point rather than the whole failure. If the cable interior is wet beyond the joint, the run has to be replaced rather than re-terminated.
Does sealing the joint with tape replace a proper connector? No. Tape is a second barrier. The connector has to provide the primary seal against the jacket.