Breadboard versus Prototype Board: Choosing a Build Method
Every circuit gets built twice: once in a form that is easy to change and once in a form that behaves like the final product. A breadboard and a prototype board sit at those two stages, and treating them as interchangeable is the source of a great deal of confusing measurement data. Knowing what each one can and cannot tell you is part of designing the experiment.
How the Two Differ
A breadboard holds components in spring clips connected by internal metal strips, arranged in rows with power rails along the edges. Connections are made by inserting wires, and changes take seconds. Nothing is permanent, and nothing is soldered.
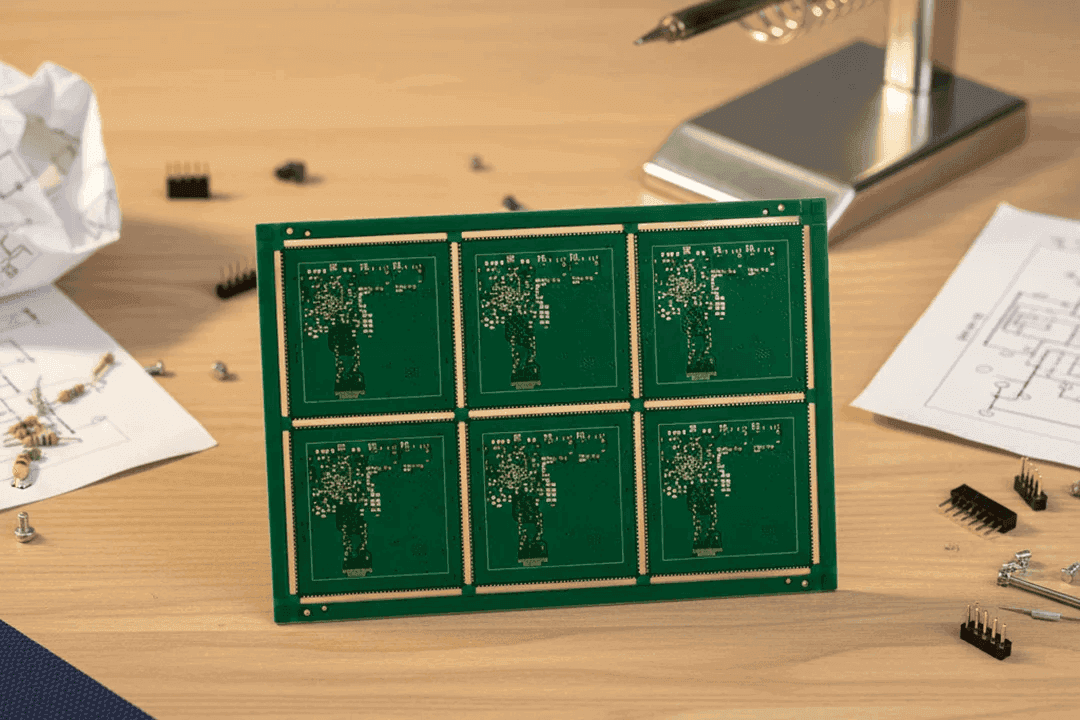
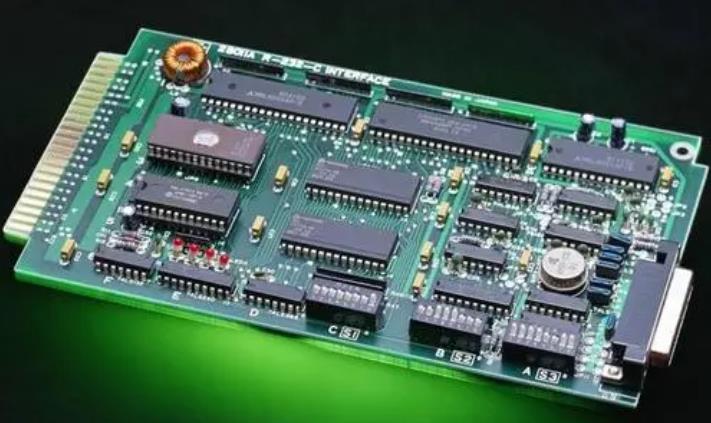
A prototype board is a piece of laminate with a grid of plated holes and, usually, some copper areas for power and ground. Components are soldered in place with a soldering iron, connections are made with wire and, on the better boards, the layout resembles a real circuit board rather than a grid of strips.
What a Breadboard Cannot Tell You
The spring contacts introduce resistance that varies with the age of the board and the thickness of the wire, and the capacitance between adjacent rows is significant. The wiring forms large loops that pick up interference and radiate, and the power rails carry current through a shared path with every other stage.
The consequence is that measurements made on a breadboard are optimistic in some respects and pessimistic in others. A high frequency circuit will not work at all, a low noise amplifier will show noise that comes from the wiring rather than the design, and a switching converter will show ringing caused by the loop rather than by the layout. The stray capacitance of the strips is the usual culprit, and the techniques for judging whether a problem is real are described in low cost signal quality improvements.
What a Breadboard Is Good For
For a low frequency circuit, a digital logic prototype or a sensor interface, a breadboard is the fastest way to establish that the idea works. It is unmatched for changing a component value, re-wiring a stage or swapping an op amp while the circuit is powered down.
It is also the right tool for exploring a design before committing to a layout, because the cost of a mistake is a few seconds rather than a board revision. Where the design is a control loop, a filter at audio frequencies or a microcontroller interface, the breadboard answers the functional questions and nothing else.
What a Prototype Board Adds
A prototype board replaces the unpredictable spring contacts with solder joints, which removes most of the contact resistance and makes the circuit mechanically stable. It also allows a ground plane to be used, which is the single most important improvement for anything sensitive.
Because the parts are soldered, the board can be handled, mounted in an enclosure and moved without the circuit falling apart. That makes it the natural stage for environmental testing, for thermal measurements and for any experiment that requires the circuit to run for hours or days. The ground strategy that makes the difference is the one described in mixed signal PCB design guidelines.
Current, Voltage and Power Limits
A breadboard is limited in current, typically to about an amp per contact for a new board and less as the clips wear. The resistance of the contact and of the thin jumper wire adds up, so a supply that sags on a breadboard may be perfectly adequate on a real board.
Mains or high voltage work should never be done on a breadboard. The exposed conductors, the unpredictable contact quality and the absence of any creepage control make it unsuitable, and the same applies to any circuit where a fault could damage the equipment or the person touching it. A prototype board is not ideal for high voltage either, but it at least allows spacing to be controlled.
When to Move to a Real Board
The transition is worth making when the questions being asked change from whether the circuit works to how well it works. Measuring noise, distortion, timing margin or emission on a breadboard tells you about the breadboard, not the design.
The practical triggers are a frequency high enough that the wiring behaves as a transmission line, a measurement that is close to the limit of the specification, or a need to test the mechanical fit of the product. At that point the cost of a small printed circuit board is less than the time spent interpreting misleading results. The transition from prototype to production board is discussed in PCB design and fabrication.
Practical Advice for Either Method
Whatever the method, the return path deserves attention. On a breadboard, run a dedicated return wire alongside each signal that is sensitive rather than relying on the shared rail. On a prototype board, use the copper area as a ground plane and connect every return to it by the shortest route.
Decoupling follows the same logic. Place the capacitor at the device pin rather than at the end of a wire, and use a short lead. A decoupling capacitor that is ten centimetres away through a loop of wire is not decoupling anything at the frequencies that matter.
What Each Stage Should Prove
The breadboard should answer the functional question: does the circuit do what it is supposed to do, with the values chosen. The prototype board should answer the next question: does it still do so when the components are soldered and the wiring is short, and does it survive being handled and run continuously.
Only the printed circuit board can answer the final question, which is whether the performance survives a layout that the product can actually use. Deciding which stage is required for a given question is what keeps a development programme honest, and it is the reason experienced engineers keep a breadboard on the bench even when they have a board on order.
Choosing Between Them in Practice
A useful rule is to build the stage that can answer the next question and no more. A breadboard for the functional check, a prototype board when the wiring is disturbing the measurement, and a printed circuit board when the answer has to reflect the product rather than the method.
The cost of the intermediate stage is small. A prototype board, a soldering iron and an hour of work remove a whole class of uncertainty, and they often reveal a problem that a breadboard would have hidden until the first board came back. Spending that hour before a board order is one of the better uses of development time.
FAQ
Can a breadboard be used for a switching converter? Only for very low currents, and the measurements will be dominated by the wiring. The layout and the loop area decide the performance, and the breadboard reproduces neither.
Is a prototype board worth the extra effort? It is when the circuit has to run continuously, be moved or be measured with any precision. For a quick functional check, the breadboard is faster.
How do I know my breadboard result is real? Compare it against a calculation or against a soldered build of the same circuit. If the two disagree, the breadboard is usually the one that is wrong.