HDI Board Versus Standard PCB: Microvia, Laser Drilling, and Cost
Two boards can have the same layer count and the same outline and still be completely different products. The difference is whether the interconnections between layers are made with through holes only, or with a build-up structure that uses blind and buried vias generated by laser drilling. That single architectural choice drives cost, routing density, and the achievable signal performance. This article explains the practical differences between an HDI board versus standard PCB construction and where each is the right answer.
The terminology is worth fixing first, because it is often used loosely. A high-density interconnect board is a multilayer board whose layer-to-layer connections include microvias produced by sequential lamination, rather than only plated through holes that pass through the entire thickness.
The Structural Difference
A standard multilayer board connects its layers with through holes that pass from the top surface to the bottom. Every drilled hole occupies space on every layer it passes through, and each one requires a clearance anti-pad on all planes in between. As layer count rises, that consumed area becomes a significant fraction of the available routing channel.
An HDI board adds layers one at a time through sequential lamination. Each build-up cycle bonds a thin dielectric and a copper foil onto the existing core, then laser-drills microvias down to the layer below. The result is that a signal can be routed on an outer layer, dropped to the layer immediately beneath it, and continue without ever occupying space in the inner layers. Density increases, and the electrical path is shorter.

Not every board with blind or buried vias is an HDI board. A buried via produced by conventional mechanical drilling and multiple lamination steps is a complex standard construction, not a microvia build-up. The defining feature of HDI is the microvia, typically with a diameter of 6 mil or less, and the sequential build-up that makes it possible.
Build-Up Count: First Order, Second Order, and Beyond
An build-up layer is one dielectric and copper addition on one side of the core. The number of sequential build-up cycles defines the order of the board. First-order HDI uses a single build-up on each side and is the most common and most easily controlled construction. Second-order HDI requires two build-up cycles, which doubles the number of lamination and drilling operations.
The manufacturing difficulty does not scale linearly. Each additional cycle introduces another layer-to-layer registration step, and registration error accumulates. That is why the second and third order of HDI are dominated by two problems: aligning the microvia with the target pad below, and plating a reliable barrel into a hole whose depth is only slightly greater than its diameter.
Via Structures: Staggered, Stacked, and Through
Second-order HDI can be built with different via arrangements, and the choice affects both cost and reliability. In a staggered structure, the first-level and second-level microvias are offset from one another and connected by a short trace on the intervening layer. This is effectively two independent first-order structures and is comparatively easy to process.
In a stacked structure the microvias sit directly on top of each other, which saves the most space and shortens the electrical path, but concentrates mechanical and plating stress at a single point. A third variant drills a microvia from the outer layer down to the third layer directly, which avoids a stacked interface but requires deeper laser drilling and more careful process control. Designers should limit stacked microvias to two or three levels unless the fabricator has qualified deeper stacks with fill plating and has demonstrated barrel integrity after thermal stress.
Laser Drilling Versus Mechanical Drilling
Laser drilling is the operation that makes HDI possible. A standard multilayer board is drilled mechanically, which in practice means a minimum finished hole diameter around 0.15 mm and a cost that rises sharply as the hole gets smaller and the aspect ratio grows. A laser can produce microvias in the 3 to 4 mil range at a lower cost per hole than mechanical drilling of the same feature size.
The trade-off is that laser drilling only removes dielectric, not copper, so the process relies on the copper below acting as a stop layer. That requirement constrains the stackup: the dielectric thickness must be uniform and thin enough for the laser to reach the target pad predictably, and the copper surface must be treated so the laser couples energy efficiently. A stackup designed without those constraints will not produce consistent microvias regardless of how good the artwork is.
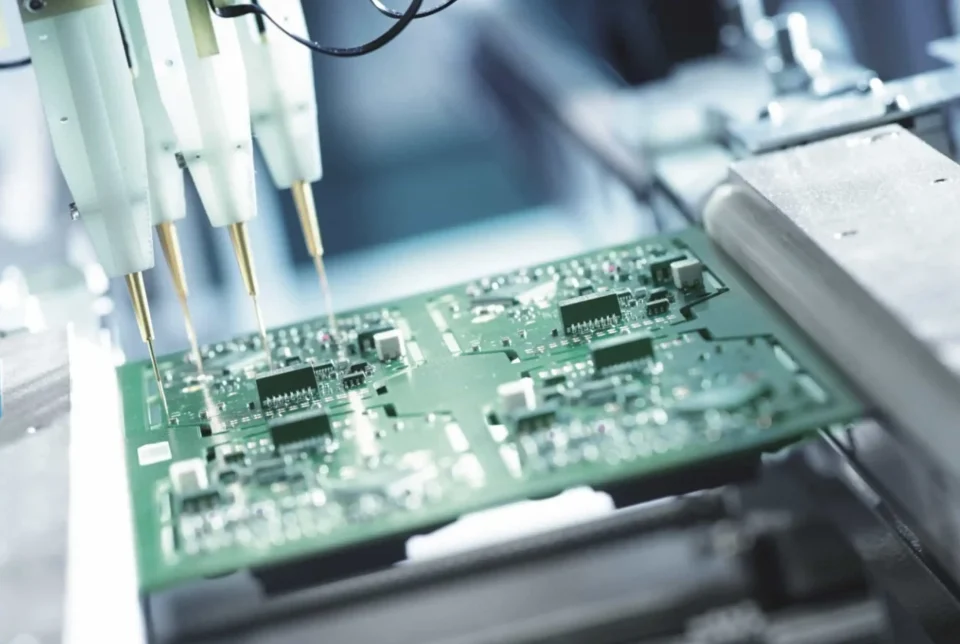
Laser-drilled vias also have a characteristic profile that is narrower at the bottom than the top, which affects how the barrel plates and how much current the via can carry safely. Where a microvia must handle current rather than only signals, use several in parallel.
When HDI Is Actually Cheaper
The conventional assumption that HDI always costs more is only true at low layer counts. Beyond roughly eight layers, a standard construction needs many sequential lamination cycles to create the buried structures it requires, and the pressing, drilling, and registration operations add up. At that point an HDI build-up with laser microvias can be the lower-cost path while also delivering higher density.
The economics therefore depend on the routing demand. If a standard eight or ten layer board can carry the routing with through holes and adequate plane area, it will usually be cheaper and simpler. If the pin density forces additional layers, finer lines, or a larger outline, the HDI route deserves a cost comparison rather than an assumption.
Electrical and Thermal Consequences
The shorter interconnect path of an HDI construction reduces parasitic inductance and capacitance, which benefits high-speed signaling directly. Microvias also eliminate the stub that a through hole creates when it passes unused layers below the connection point, and stubs are one of the main sources of insertion loss and resonance above 10 GHz.
There are secondary benefits as well. The thin dielectric layers of an HDI stack reduce the vertical thermal resistance between the component side and the plane structure, so heat spreads laterally more effectively than in a thick standard board. Denser ground planes and shorter return paths also improve immunity to radio frequency interference and electrostatic discharge, because the loop area for a disturbance is smaller.
Design Constraints and Reliability Risks
HDI design is less forgiving of casual changes. Microvia capture pads must be large enough to absorb laser and registration tolerance but small enough not to consume the routing space the design is trying to recover. Filled and plated microvias are usually required for via-in-pad structures, and the fill must be free of voids, because a void in a stacked microvia is a ready-made crack initiation site. The plating and fill process itself is described in electroplating and via filling for HDI. Related structures are covered in blind and buried via stack selection and in HDI board CAM methods.
The material system also has to be reconsidered. Standard FR-4 with a high glass transition temperature works for many first-order HDI designs, but low-loss laminates and thin build-up dielectrics handle frequency response and laser absorption differently. Any change of material in an HDI stackup should be treated as a process change and re-qualified.
FAQ
Is a blind via always an HDI feature? No. A blind via is simply a hole that does not pass through the entire board, and it can be produced mechanically in a conventional multilayer board through sequential lamination. HDI specifically refers to microvia-based build-up constructions, where the vias are laser drilled and are small enough that conventional mechanical drilling cannot produce them economically.
How do I decide between a second-order HDI and adding more layers? Compare the routing channel demand against the available space. If a standard stackup would need two or more additional layers to complete the routing, the HDI option usually wins on both cost and electrical performance. If a single extra layer settles the routing, a standard construction is generally the simpler and cheaper choice.
What should be verified before releasing an HDI stackup? Confirm the microvia capture pad dimensions against the fabricator’s laser registration capability, the dielectric thickness of each build-up layer, the fill process for any via-in-pad structure, and the number of stacked levels. Then require cross-sections after thermal cycling, because microvia reliability cannot be established from electrical test alone.