PCB to Flex Circuit Connection: Five Techniques Compared
Connecting a rigid PCB to a flex circuit is one of the few places in electronics where the mechanical design and the electrical design are equally difficult. The joint must carry signals and power, survive bending and vibration, and remain manufacturable at volume without a hand operation that no one can repeat.
Five techniques cover most designs. Each makes a different trade between cost, joint resistance, reworkability and the amount of mechanical stress the connection can absorb.
What Makes the Connection Difficult
Three factors cause most failures. The first is differential movement: polyimide and FR-4 expand differently with temperature, so a rigid solder joint between them accumulates stress through every thermal cycle.
The second is bending. A flex circuit is designed to move, and the movement is transmitted to the joint unless the transition region is designed to keep the bend away from the solder.
The third is pad geometry. Flex pads are thin and the coverlay opening must expose enough copper to solder without leaving a step that traps flux or a raised edge that concentrates stress.
<img src="https://www.gopcba.com/wp-content/uploads/2026/08/Electrical-Testing.jpg" alt="Flex circuit connection to a rigid PCB with a ZIF connector” />
Method One: Zero Insertion Force Connectors
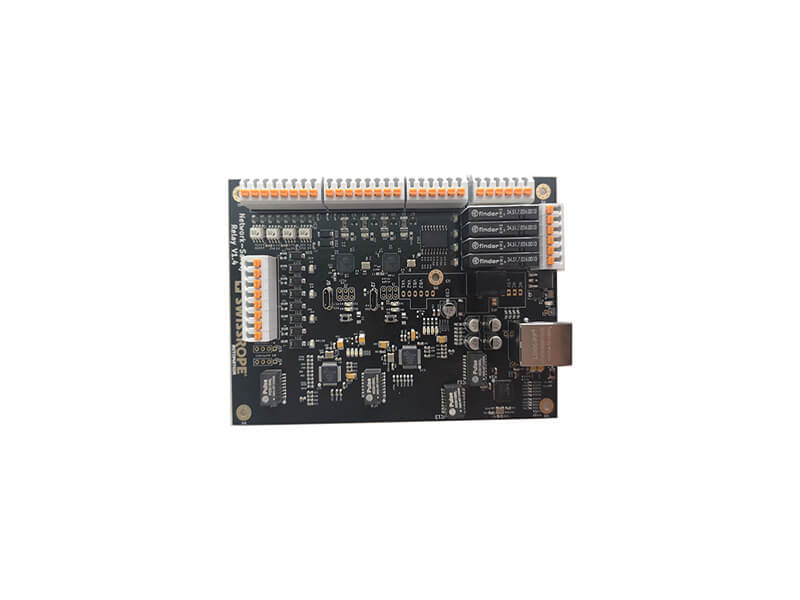
A ZIF connector is the most common solution and the most reworkable. The flex circuit is inserted into a connector on the rigid board and clamped by an actuator, with the contacts pressing against the exposed pads. No soldering is required at the connection.
The connection quality depends on pad flatness, insertion depth and the stiffness of the flex tail. A stiffener behind the contact area is usually required, because a compliant tail does not maintain uniform contact pressure across all conductors.
ZIF connectors add cost, height and a mating operation, but they allow the flex to be replaced in the field, which matters for serviceable products.
Method Two: Hot Bar Soldering
Hot bar soldering joins the flex directly to the board by pressing a heated thermode against the conductors. The thermode transfers heat through the flex into pre-tinned pads on the rigid board, and reflow completes in seconds.
The process requires tight control of temperature, pressure and time, and it needs a thermode shaped to the pad pattern so that heat is applied evenly. A profile that is too cold leaves a partial joint; one that is too hot damages the coverlay.
Hot bar soldering gives a low-resistance, low-profile joint with no connector. It is not reworkable in the usual sense, so the flex and the board become one assembly after the operation.
Method Three: Anisotropic Conductive Adhesive
Anisotropic conductive adhesive conducts in one direction only. The adhesive is placed between the flex and the board, then pressed and cured while heat and pressure collapse conductive particles trapped between opposing pads. Conduction occurs vertically at each pad, while the adhesive remains insulating between pads.
This method suits very fine pitch, because the particles provide the connection rather than a solder fillet that could bridge. It also tolerates thermal expansion better than solder, since the joint is compliant.
The trade-offs are process complexity and higher joint resistance than a soldered connection. Both the adhesive and the bonding equipment are specific to the application, so the method is normally chosen for fine-pitch, high-connection-count interfaces.
Method Four: Soldered Tabs and Through-Hole Anchors
Where the flex carries power or must resist pull-out force, a soldered tab is used. The flex extends into a tab with exposed copper, which is soldered to a pad or inserted through a slot and soldered on both sides of the rigid board.
A through-hole anchor is mechanically strong and easily inspected, because the joint is visible on the copper side. It also concentrates stress at the hole, so the flex should be routed so that bending occurs away from the anchor.
This method is common in devices that are assembled once and not serviced, and it is the cheapest of the five when the connection count is low.
Method Five: Direct Soldering to Stiffened Pads
Direct soldering uses a stiffener bonded behind the flex at the connection area, so the joint is made between two rigid surfaces. This removes most of the differential movement and makes the joint behave like an ordinary surface-mount connection.
The stiffener material and thickness must be specified, and its edge must not fall under a bend. Vias and traces should stay clear of the stiffener boundary, where a step in stiffness concentrates stress during flexing.
Strain relief completes the design. A bead of adhesive, a clamp or a molded feature should hold the flex so that any pulling force is taken by the structure rather than by the solder joints.
Choosing Between Them
Start from the requirement. If the connection must be serviceable, a ZIF connector is the answer. If profile height and resistance matter, hot bar soldering gives the best electrical result. For very fine pitch with many conductors, anisotropic adhesive fits.
Where the product is sealed and cost dominated, soldered tabs or direct soldering to a stiffened area keep the assembly simple. In every case, design the transition so that the bend line is well away from the joint, and specify the strain relief in the assembly drawing rather than leaving it to the assembly operator.
Further reading: conformal coating and board protection, via in pad versus plated through, and PCBA development process.
Designing the Transition Region
The transition region deserves its own layout review. The flex tail should be slightly narrower than the connector or pad row to avoid stress at the corners, and the copper in the tail should be reinforced with additional plating or a thicker base film where bending occurs.
Keep the number of layers in the tail to a minimum. A single conductive layer in the bend area flexes far more reliably than a multilayer construction, and the stiffness of the multilayer stack concentrates stress at the point where it ends.
Assembly Documentation
Documenting the connection is what makes it reproducible. The drawing should state the connection method, the stiffener material and thickness, the force or pressure applied during bonding, the cure schedule for adhesive joints and the location of any strain relief.
It should also state what is not allowed. Bending after bonding, rework temperature limits and the maximum pull force on the tail are the constraints that assembly operators need in writing, because each violation produces a failure that appears much later.
Whichever method is selected, verify it with a thermal cycling and bend test on assembled samples before releasing the design for production.
FAQ
Which method survives the most thermal cycles? Anisotropic conductive adhesive and hot bar soldering on a stiffened area both perform well, because the joint is either compliant or supported by rigid material on both sides. A soldered flex to bare laminate performs worst.
Do I need a stiffener with a ZIF connector? Usually yes. The contact area must be flat and rigid enough to maintain uniform pressure, and the stiffener also defines the insertion depth that the connector expects.
How far should a bend be from the joint? Keep the bend outside the stiffened region and clear of vias and coverlay edges. A practical rule is to keep the bend line at least three times the flex thickness away from any rigid feature.